


As any hifi fan will tell you, getting your listing room sounding its best can be both rewarding and frustrating in equal measure.
Get it right and your system costing hundreds can compete with those costing thousands, while an ill sounding room can send you down an expensive rabbit hole of upgrades in vain, when what’s holding your audio gear back is the four walls in which it is being used in.
Our commitment
Our quest at Audiograde is to bring you in-depth reviews and features of cherrypicked kit that has made us sit up and take notice. And to do this, a dedicated listening space is as essential as the music we listen to. Sure, testing in real world home spaces is vital too, to hear real world results, but we also insist on an optimally tuned environment to ensure each product is heard at its best and most neutral, without being overly influenced by its surroundings. Audiograde HQ was built exactly for this purpose, with a solid floor, isolated mains and acoustically treated plasterboard being part of the spec sheet.
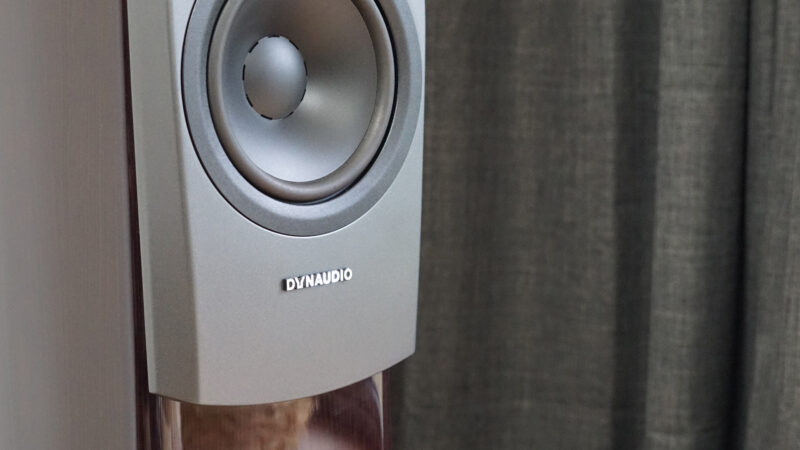
Our resident Dynaudio Focus 260 in action before the acoustic panels are installed
Our room measures around 6.8 x 4.8m (WD) internally, with a ceiling height that’s a little over 2m. Despite the room having an abundance of soft furnishings (large rug, full width side curtains, two large sofas and enough cushions to rival a habitat sale), there’s a sense that bass clarity and focus could be further finessed.
A subwoofer is an obvious option to enhance those lower frequencies, but I’d rather tackle the issue head on first, before compensating for any shortcomings with more hardware.
Talk to the experts
After scouring the web and consulting a good friend who also happens to be a highly experienced mastering engineer with more studio time under his belt than I’ve got trousers, I was pointed to Advanced Acoustics in Mansfield with product experts Lee and Shaun listening to our needs before giving thought through advice on where to start.
There are two excellent guides on Advanced Acoustics’ website that detail why you need acoustic treatment and what treatment you may need alongside where to install it. Its product range extends from great value starter kits for around a hundred quid through to stylish fabric coated or wood detailed panels that bring design flair as well as sonic improvements.
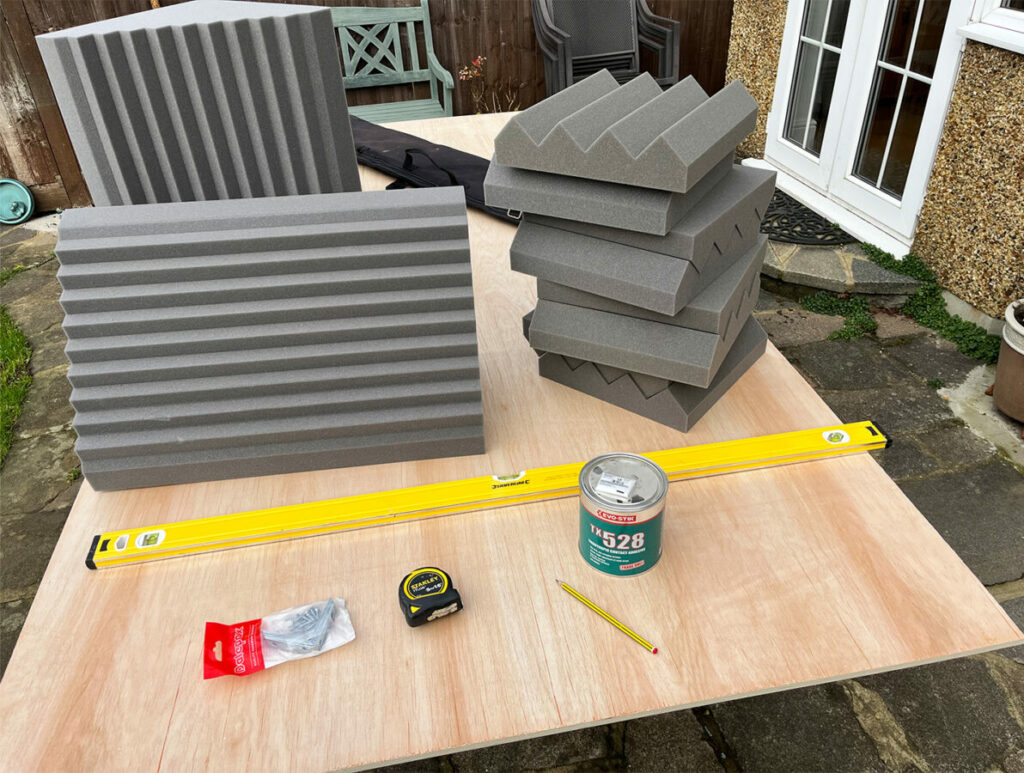
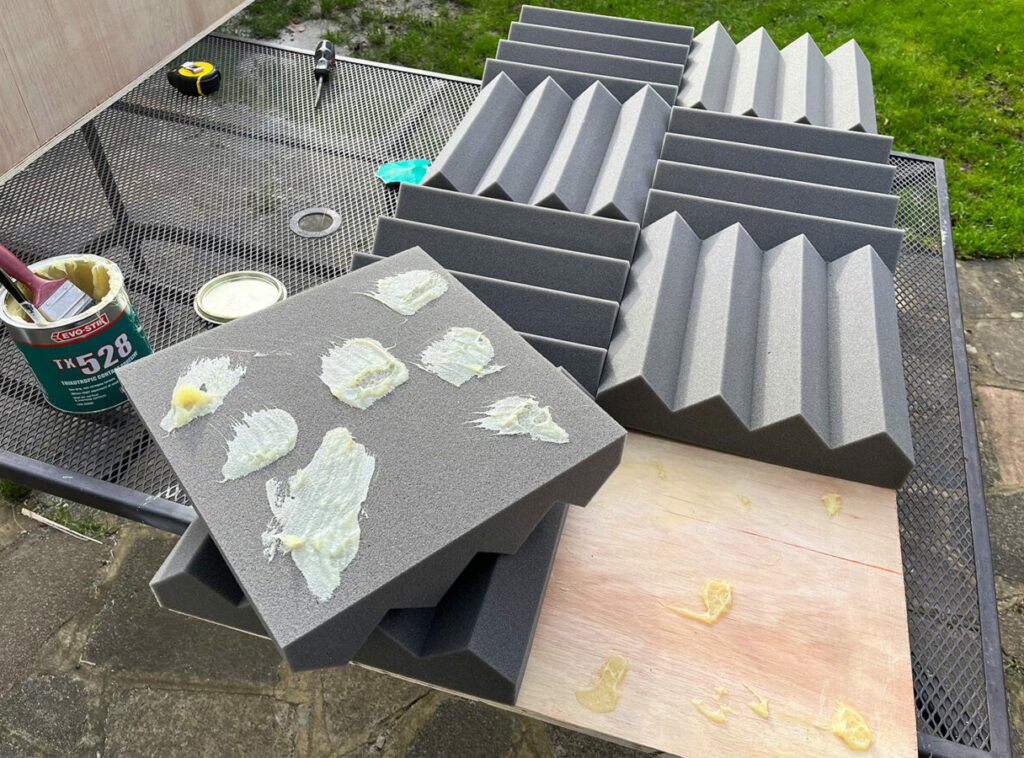
Tooled up and ready to go, making you own panels is rewarding, will save you money and means you can design them to best suit your room
Keen to keep costs down and make sure our DIY skills were put to good use, we opted for the small Wedge PRO Studio Starter Kit, which comes in a variety of shapes aside from the pointy wedge style – all to ensure a larger surface area is accounted for. The pack consists of 24 square foam tiles measuring 305mm (12″) square and 75mm thick (at their deepest), plus four matching corner bass traps at 305mm wide and 610mm long, giving a face width of 430mm
Overall, the square tiles will cover a 2.23sqm surface area and buying as a kit means you can install them where you like to suit your room.
We opted to make two 1,200mm high by 600mm wide panels on the wall behind the speakers and two 600mm square panels on the opposite and perpendicular wall (with curtains covering the other perpendicular wall), plus two 1,200mm corner bass traps.
Materials needed and where to buy
Aside from the foam, to copy our method you’ll also need a backing board and wall fixings to mount the panels on. Our overall package came to £195.83 all in, consisting of:
- Small Wedge PRO Studio Starter Kit, £126.99 (Advanced Acoustics)
- 12mm thick plywood (while the foam is light, the large surface area of glue can encourage warping which ply resists better than MDF), £25.56 (Selco)
- 1L Evo-Stick TX528 adhesive (there may be better alternatives around hence do shop around!), £25.31 (Selco)
- 103mm corner braces, £4.99 for ten (Screwfix)
- 10mm countersink screws, £3 (most hardware stores)
- D-Link hanging brackets, £5.99 for 25 (Amazon)
- Furniture pads, £3.99 (Screwfix)
How to make your acoustic panels
If you’re also looking to make your own panels, you can follow our approach.
Firstly lay the panels out on your backing board to get the right pattern and a good line for the edge, as while the sizes are approximate, this method gives you an exact size.
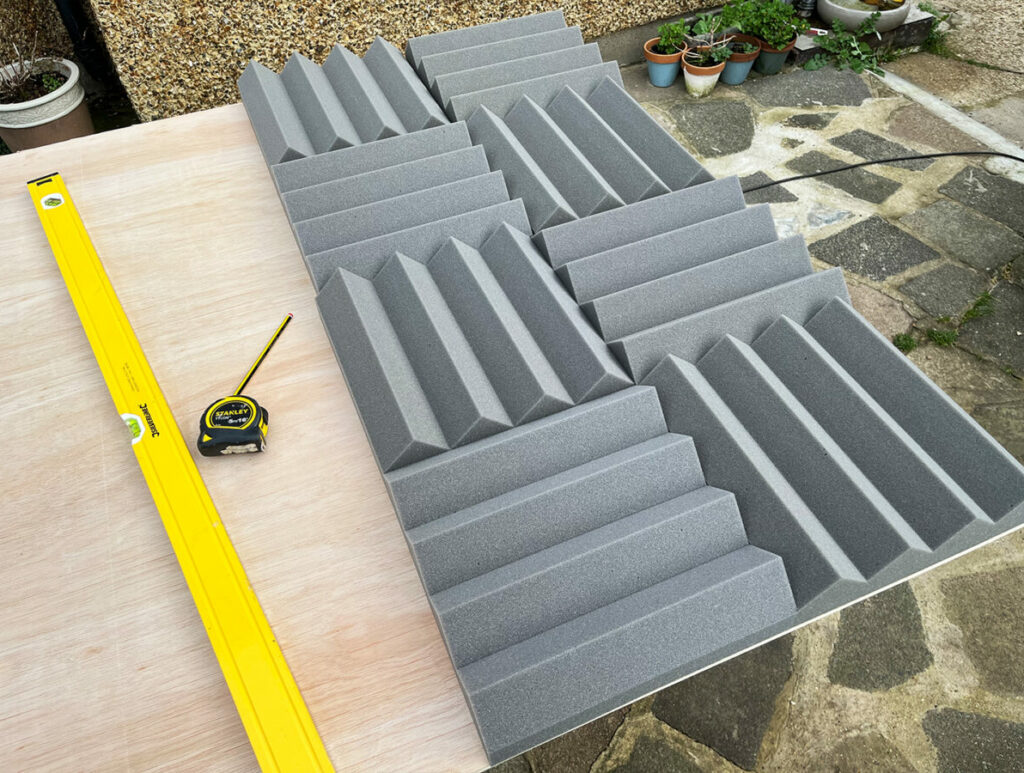
Arrange each tile in a pattern that’s easy on the eyes, as well as ears
For the corner panel bass traps, add an extra 12mm in width to the first panel, which gives you an edge to stand the second panel on at 90 degrees.
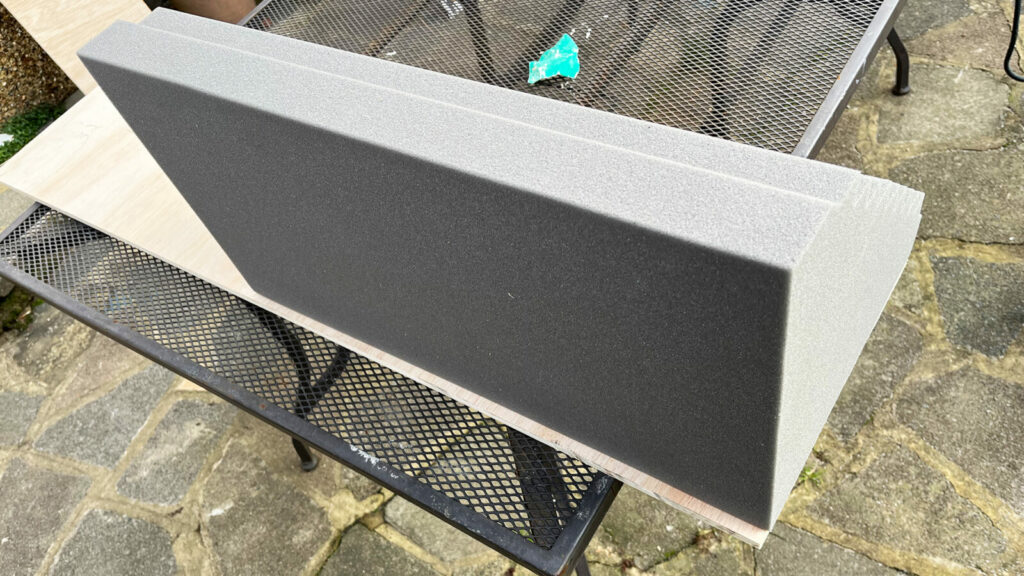
12mm lip at the back of the first corner panel will help support its perpendicular panel
You can now measure and fit the second corner panel backing board, using the corner brackets and short screws to ensure a rigid support.
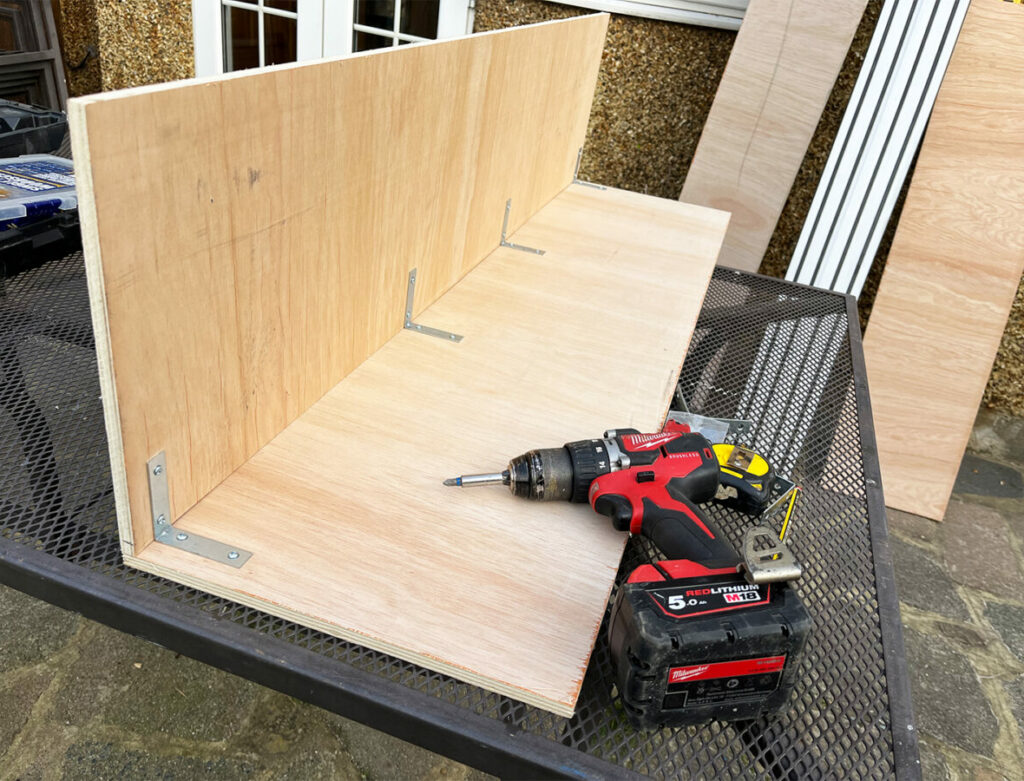
Corner brackets installed, ready to accept the foam bass trap panels
The TX528 is a slow drying dense adhesive, and we had the best results with it by firstly brushing an even layer on the plywood, followed by a ‘dot and dab’ method on the back of the foam panels (in a similar manner to sticking bathroom tiles on an uneven wall).
Once the panels have been glued in place, weighing them down and leaving the glue to cure for 24 hours will ensure a strong and even adhesion
To mount the boards, we used two D hooks in the top corners and furniture pads on the bottom corners, with the latter helping to null vibration and prevent marking the wall. You could, of course, mount the foam directly to your wall without a backing board, but our method allows for fine tuning and easy removal should you need to.

D hooks and corner pads ensure a stable and secure fit to our studio walls
Installing our 1,200mm x 600m wall panel and bass trap we found the best results (both visually and aurally) with a 300mm gap between them.
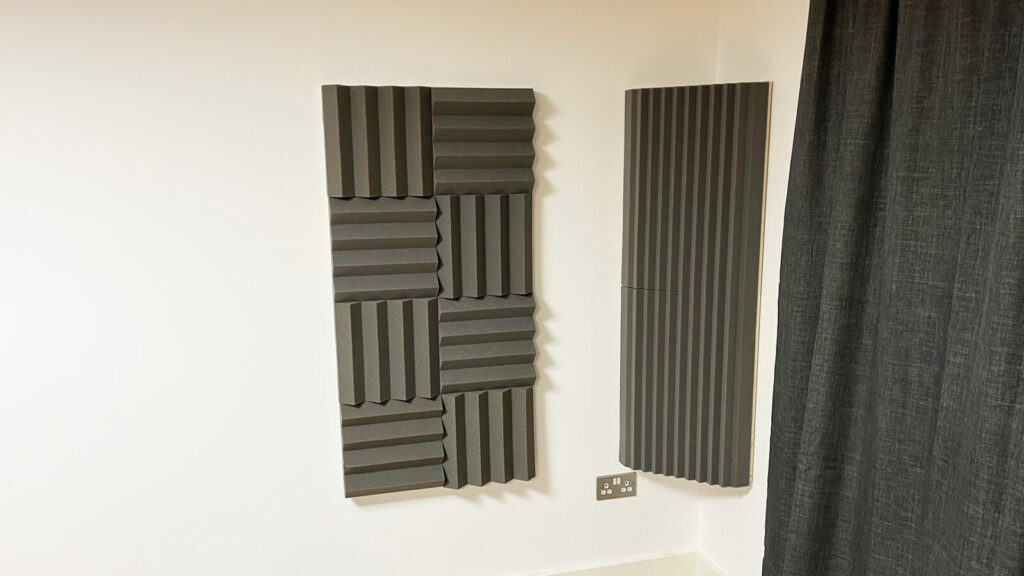
Where foam meets function, a 1,200mm high wall panel and corner bass trap installed
Our panels are positioned halfway up the wall, which looks the most visually satisfying and more importantly, gives the best sonic improvements.
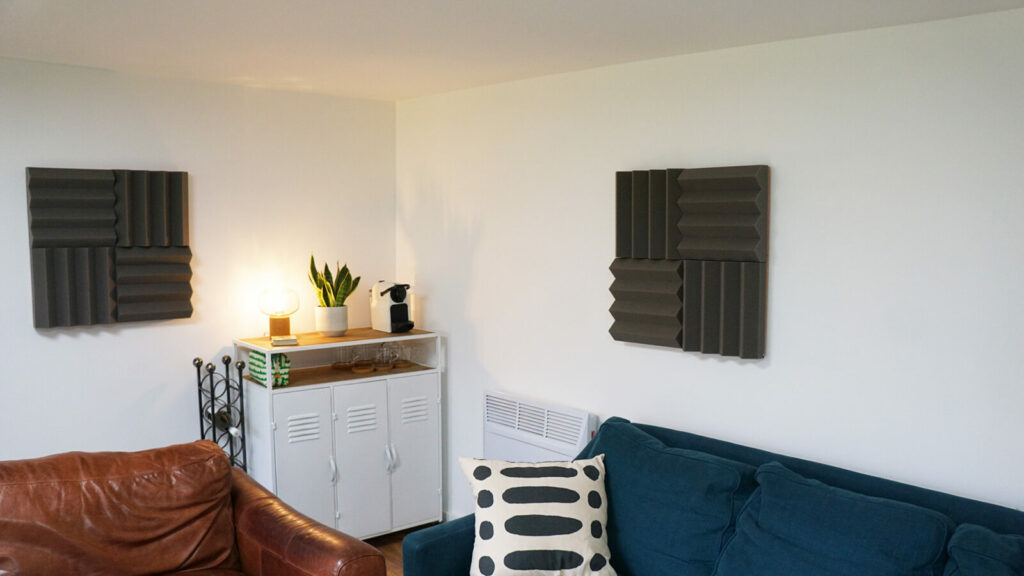
Once fitted, the panels complement our studio’s design without looking overly dominant
We made square matching 600mm square panels from the remaining eight foam tiles, installed on opposite and side walls.
If the look isn’t for you, there’s also the option to cover them in a fabric that will complement your decor, but we think they look great without!
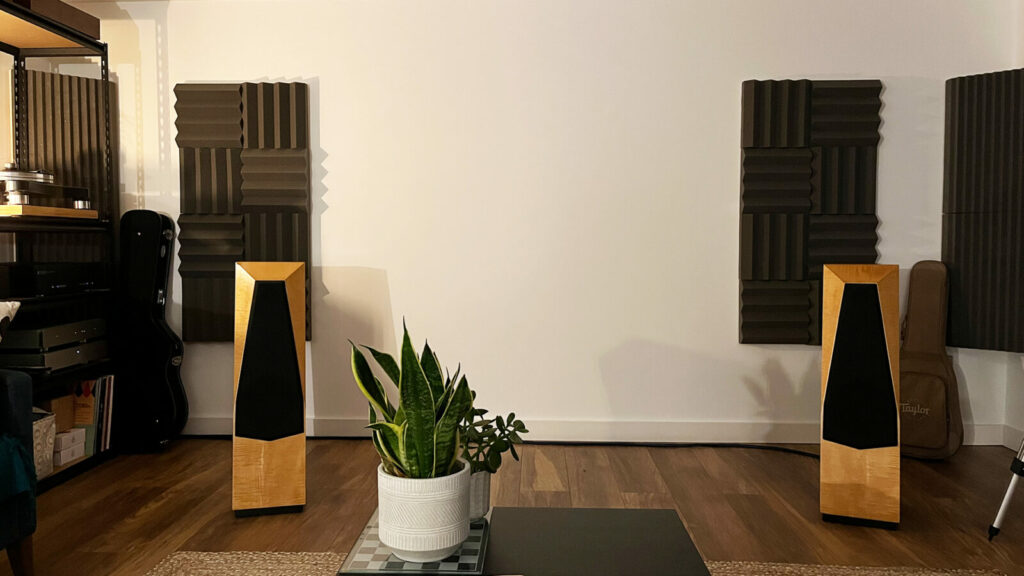
Installed and working their acoustic magic
Performance
With the panels installed the difference is immediately clear. While the room wasn’t bass shy in its pre-panel era, the acoustic treatment ensures low frequencies sound more focussed, with a richer sense of texture and separation. Mid and high frequencies also have a greater sense of accuracy, that really benefits clarity across the soundstage, without losing any sense of scale.
Keen to hear the space with a more demanding loudspeaker, we dust off a rare as rocking horse pair of baby Avalons from generations ago.
The Avatar model was the smallest floorstander this elusive Colorado company made back before Avalon went down the ported cabinet route. Demanding to drive and arguably more demanding to position, once you’ve found their physical sweet spot they image like few speakers I’ve heard, and with the treatment installed I notice three things: Firstly, it takes less time to find said sweet spot in terms of toe in angle and distance to each other than before, because I can hear more clearly how the room is responding to each incremental change. Secondly that old adage of ‘the room just disappeared’ becomes more apparent, as reflections are better controlled, meaning everything arrives in a more even, balanced and controlled way. Finally bass presence, resolution and impact are delivered in fuller measures. If the room’s pre-panel era was a half a lager, we’ve now got a full pint, with a subsonic chaser.
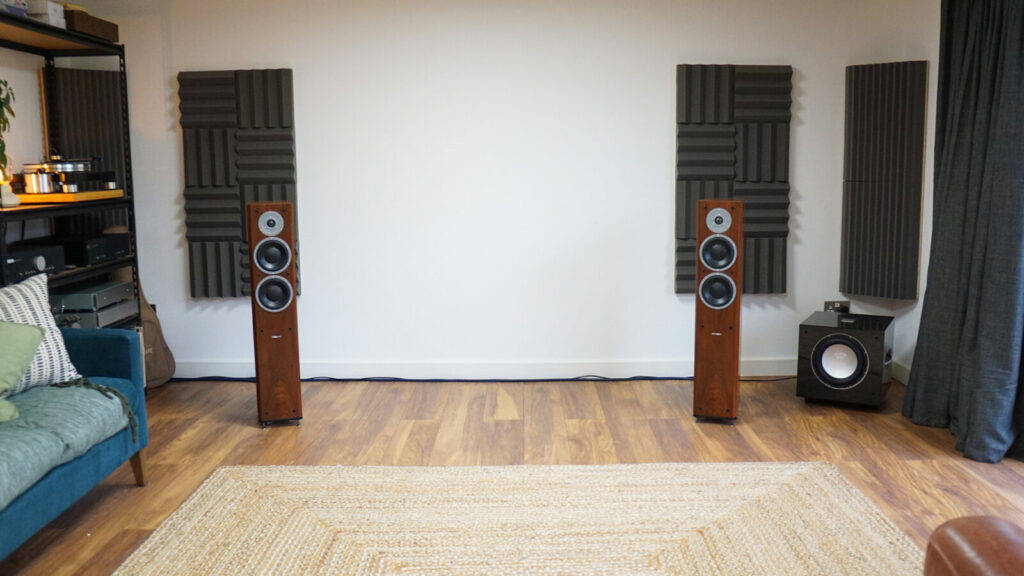
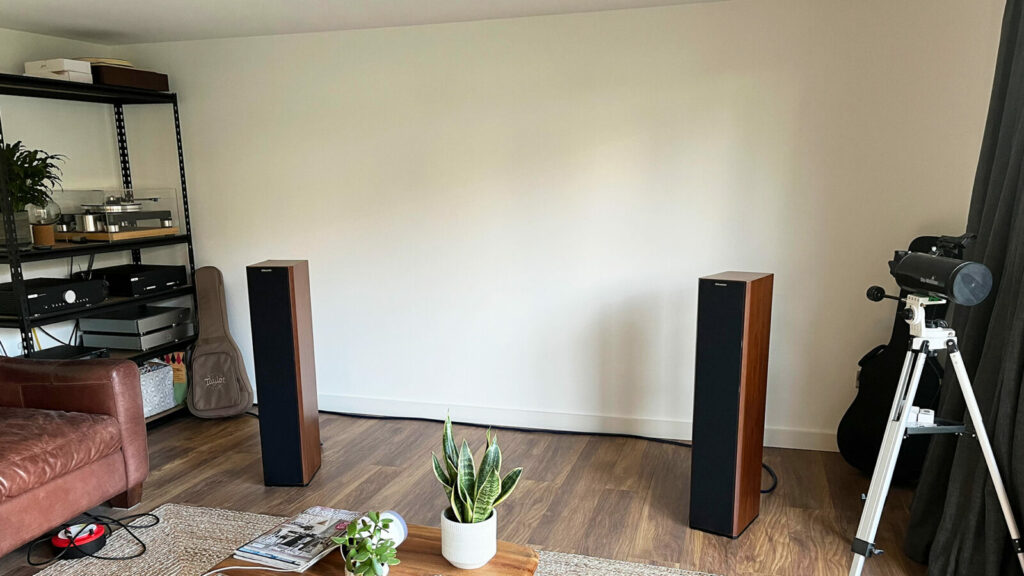
Dynaudio’s Focus 260 getting improved room treatment
In summary
Put simply, if you’re looking to ensure your listening space is doing justice to the hifi you’ve invested your hard earned in, then the kits from Advanced Acoustics are superb value. If you’ve got the time, patience and skills to buy a kit that you can then tailor to your room, the rewards could pay dividends, as you can take the time to add and position as many or as little as you need at a price that’s less than a mid-level interconnect cable.
For us, these were just the ticket to put the audio icing on our listening room cake.