


Sometimes in hifi you just have to make a stand. And the last time I made my own from scratch was way back during my GCSE days.
While most teenagers were rightly making themselves the gadgets of the times in our metal and woodwork lessons, from cool key rings to gizmos for that souped up Vauxhall Nova they were craving, I was already fully invested in my music and hifi obsession.
With little money for a branded stand from the likes of Target, a few off-cut pine lengths and sheets of plywood later I had a tripod style stand like those popular at the time, but at a fraction of the cost.
This stood me in good stead for a decade or so (and is still in use today elsewhere in the family). But as my system grew so did its support needs (including wall shelves for when kids came along).
The feedback
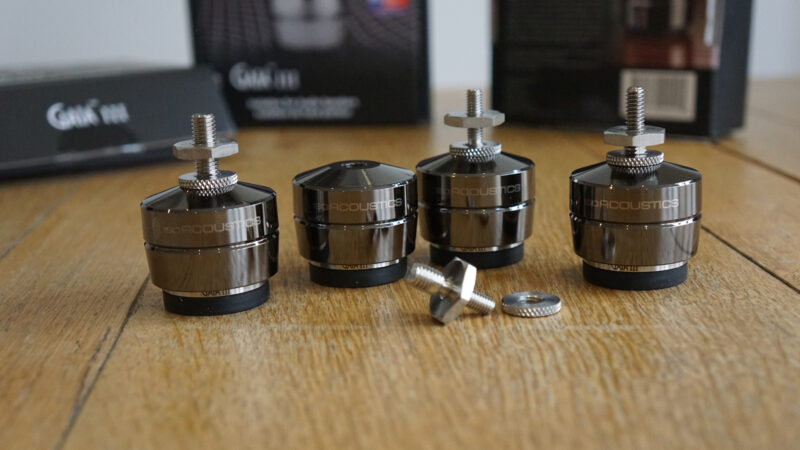
Since we’ve launched Audiograde we’ve had lots of questions about kit recommendations ranging from those climbing hifi’s performance ladder to others looking to make improvements on a budget. Accessories and equipment stands are two areas that garner plenty of attention (prompted by our IsoAcoustics GAIA III isolating feet review back in 2021).
In response not only have we created our own equipment support, but we’ve also done so with likeminded readers in mind.
The challenge
As any reviewer will tell you, having a quality rack that’s practical and accessible for regular kit swaps is a godsend in this game. And having looked across the market, I couldn’t find anything that met all my needs and budget.
It had to be:
- Wide and deep enough to house a range of kit, from power amps 1/2 a metre deep to multiple turntables.
- Strong and sturdy enough to support some serious weight (including amps well north of 100kg for example) without compromising audio performance.
- Provide easy access and adjustment to facilitate an ever evolving equipment list, without too much fuss or heavy lifting.
- Not be too polished, pristine or worried by the odd knock.
The solution
After considering and rejecting a range of DIY options, I settled on adapting scaffolding for a domestic environment because it’s strong, has ready made brackets and fittings in abundance and looks stylishly functional when done right.
After researching various pole diameters (who’d have thought there was more than one?!) I settled on 33.7mm poles and pulled together an order for new tubes, brackets and castor wheels to allow easy mobility.
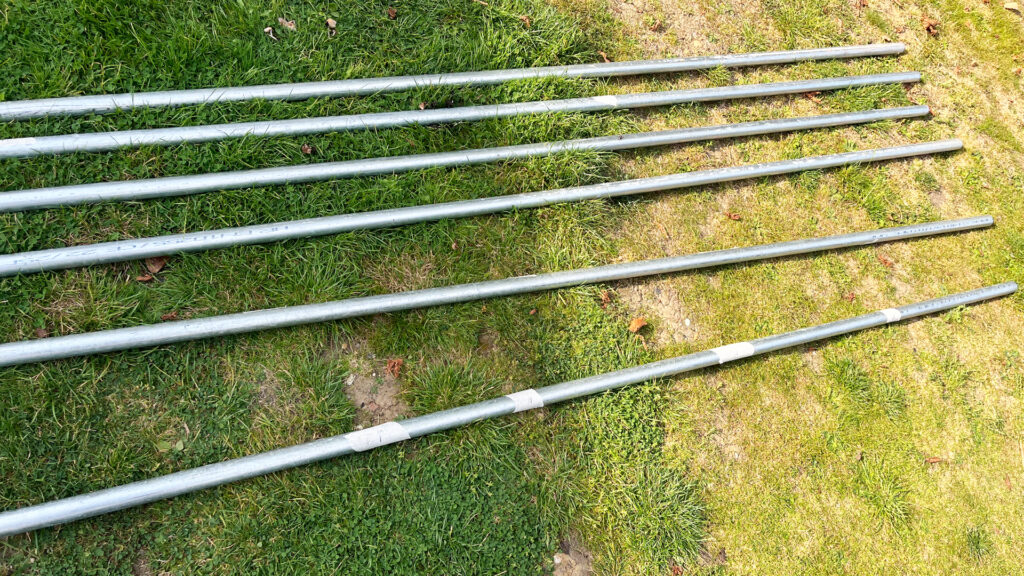
Scaffolding tubes delivered and marked for cutting at Audiograde HQ
Planning my build in advance meant I knew exactly how much tubing to order and where to cut each pole for minimum wastage.
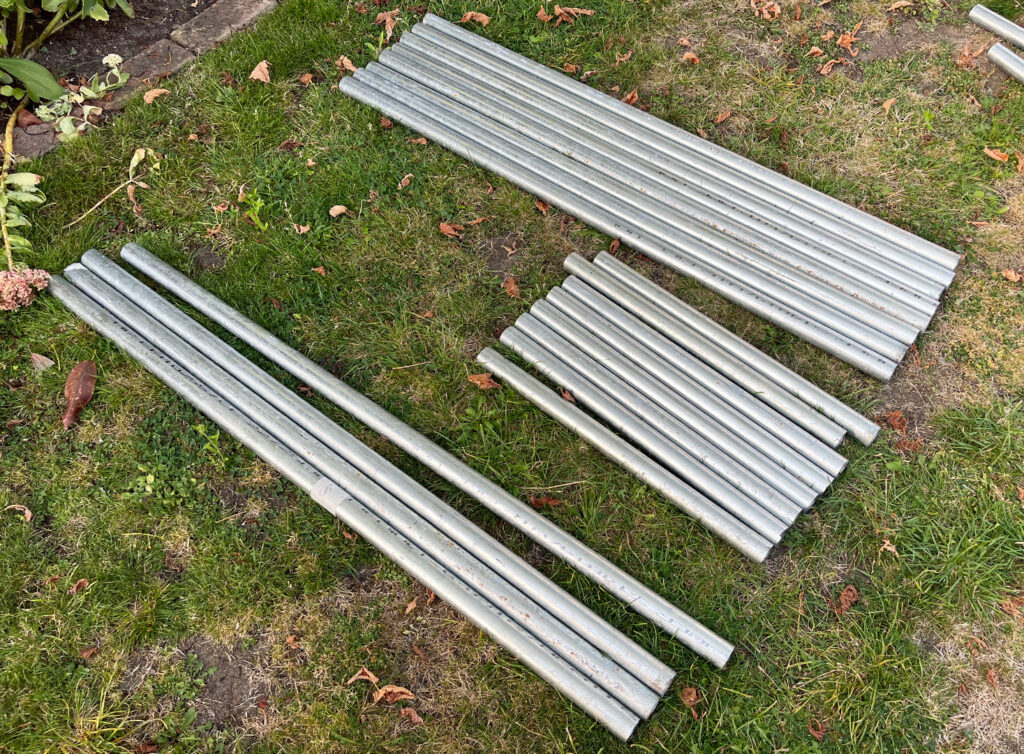
Poles cut to size, ready for assembly. We left ours unfinished as they came, but you could paint or polish them to your choosing
I cut my poles to length in my garden well away from the house, using an angle grinder for speed, with a dedicated cutting disc. Of course any DIYer would need to be confident in using such a tool and make sure all safety measures are in place, including wearing protective gloves and eyewear.
When cutting, it doesn’t matter if the edges of each pole are left a little rough or not perfectly square, as they’ll be hidden within the sleeve clamps.
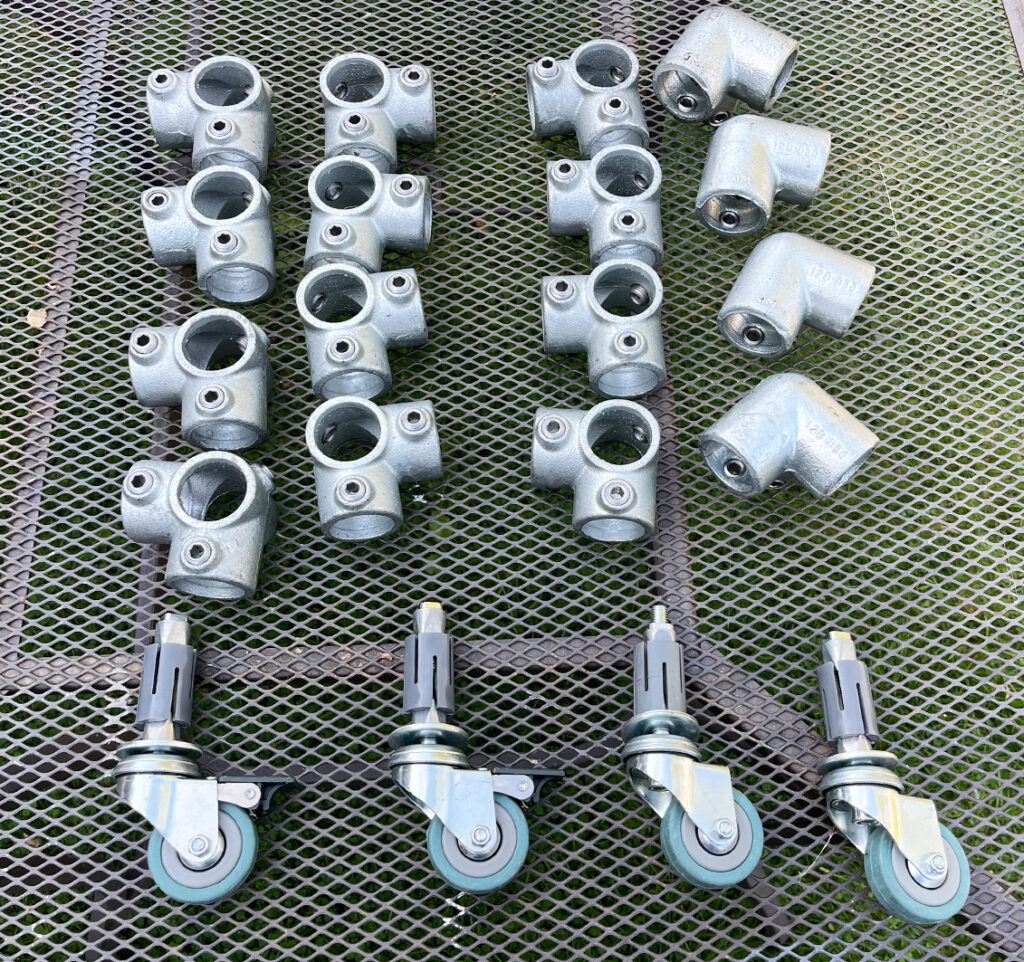
Our assembly brackets for a four shelf unit, we allowed ample space for two components per shelf
Next up is assembling the poles into a frame using the brackets we’d ordered and cut poles. For a wide four-shelf unit, this meant a dozen three-way pass-through corners for the lower shelves and four three-way elbows for the top shelf.
We also opted for four caster feet (two with locks) to aid mobility and stability once in situ.

Three-way pass-through brackets make up the bulk of the fittings. Being a sleeved design means the shelves they support can be easily raised and lowered
There are of course other brackets and clamps systems you could use, but we opted for these because they’re easy to install, hide any sharp edges and can be raised/lowered once installed, allowing for future adjustment.
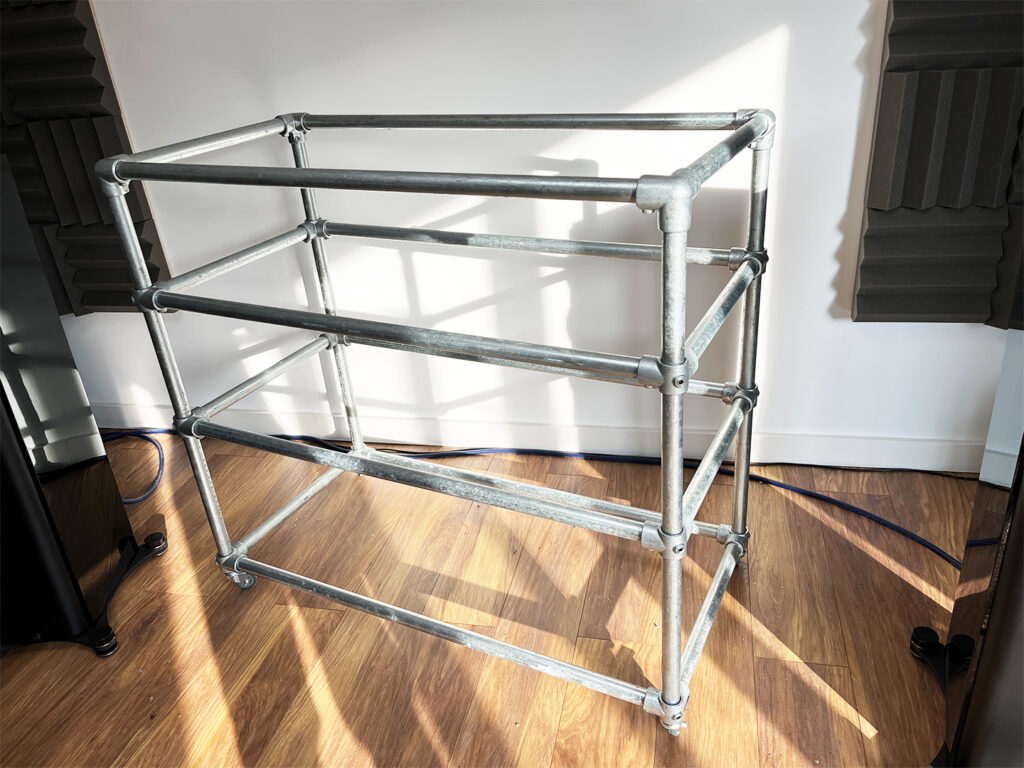
Once loosely erected you can make final height and level adjustments with ease
Wrestling the poles and brackets into initial position takes a bit of doing. The easiest method is to construct the front and back sections first, then join them together using the shorter side poles.
Once together all that’s needed is a spirit level and 1/4″ hex key to get each shelf support at your ideal height and level.
When calculating height, remember to also allow for the thickness of the pole, as we designed our shelves to sit on top of each. You could get away with removing the poles running widthways under shelves two and three, as the top and bottom poles hold the structure together and the side poles support the shelves. But we left them in for a more rigid end product.

Scaffold board shelves match the stand’s rustic finish
The final piece of the puzzle is, of course, the actual shelves.
Continuing the scaffolding theme, we sourced some new boards which were cut to length and treated to a light sand and some oil to help preserve them.
This type of wood isn’t smooth by any means, which means lots of grain on show and perhaps less finished edges than you’d expect. But but this also makes them more forgiving of inevitable knocks and equipment footprint marks.

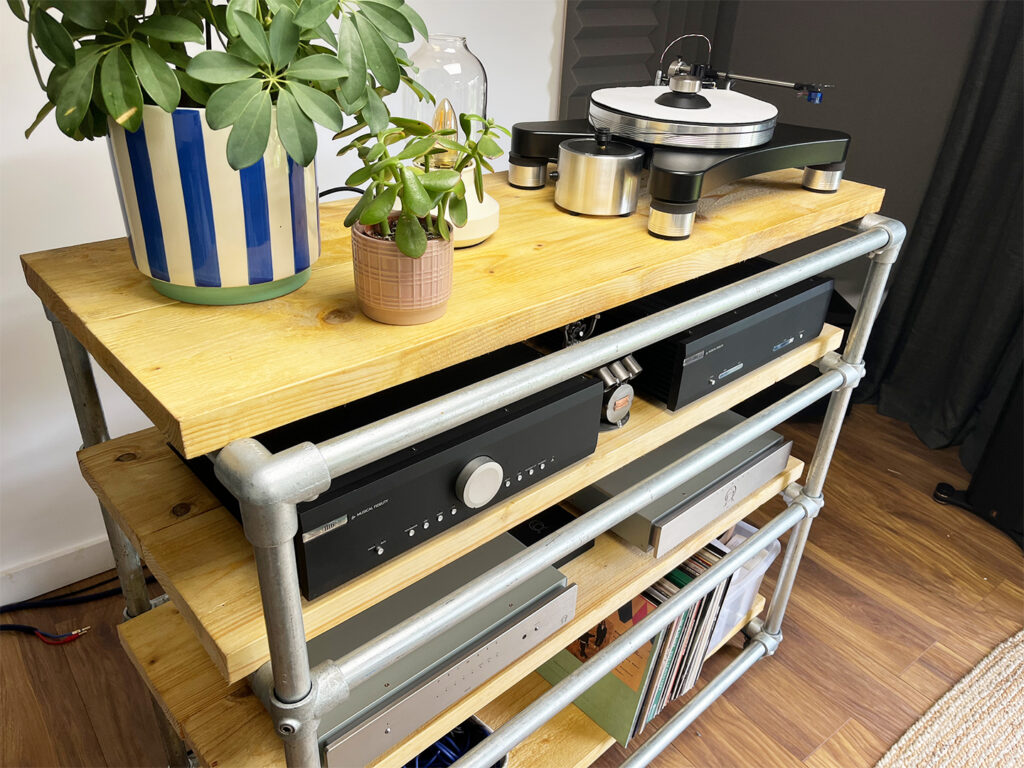
Our boards overhand by 20mm, with hidden screws in their undersides to prevent unwanted sideways movement
Our stand’s depth is 440mm between the side clamps, allowing for two scaffolding boards to butt up snuggly while accommodating even the largest hifi gear. A simple allen headed locking nut on each clamp allows easy shelf height adjustment.
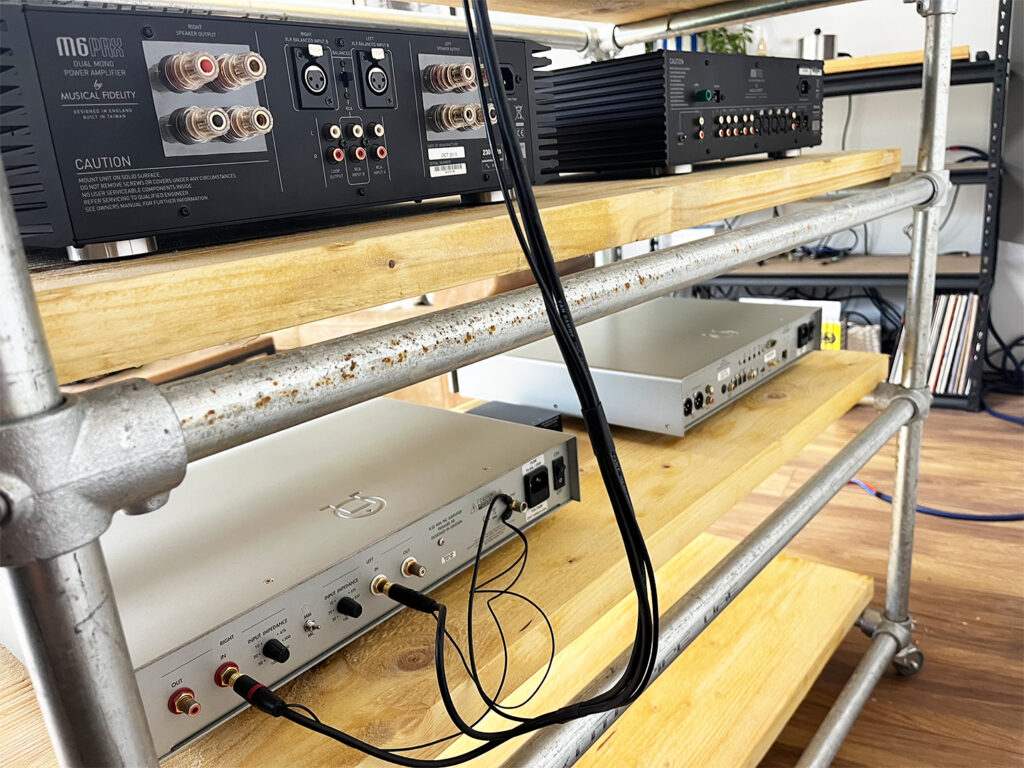
Musical Fidelity and Primare gear awaiting final connections, made easy by wheeled feet and shelf supports poles to hang loose cables over
As well as acting as buffers to protect their precious cargo, the cross poles allow cables to be draped over them when swapping gear out, preventing the hassle of scrabbling around at the back for dropped wires. Being on wheels also allows for effortless access to each component’s rear connections by wheeling the unit forward – a hifi reviewer’s dream!
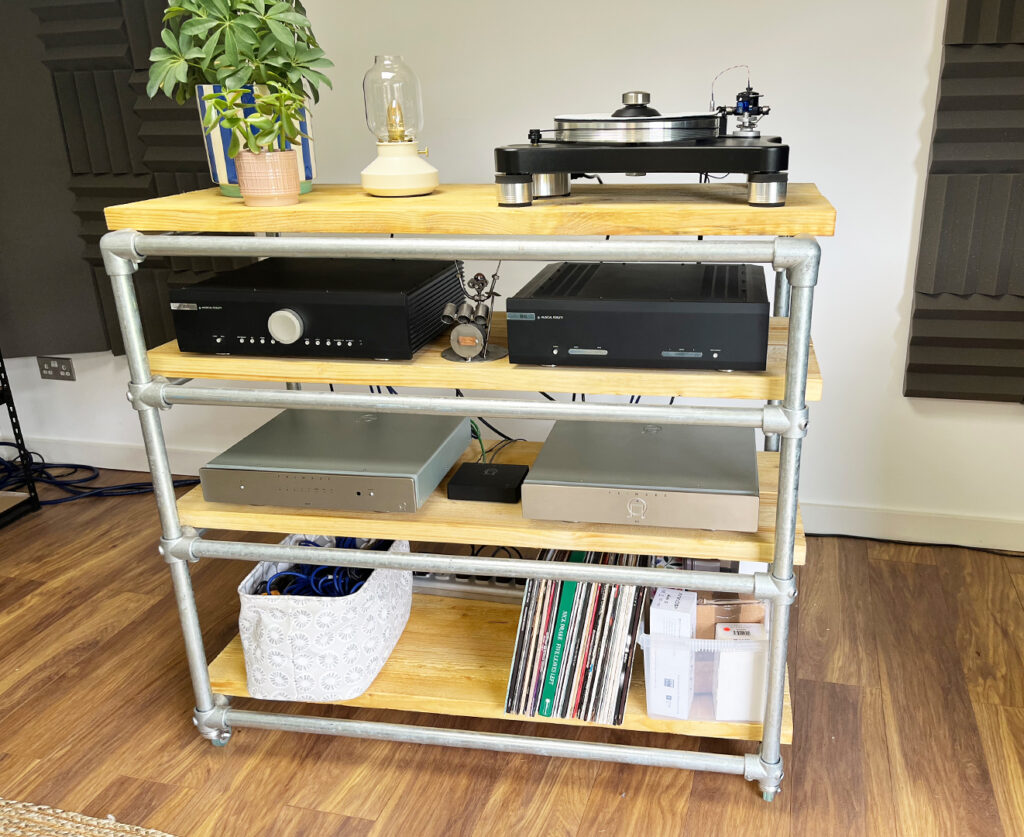
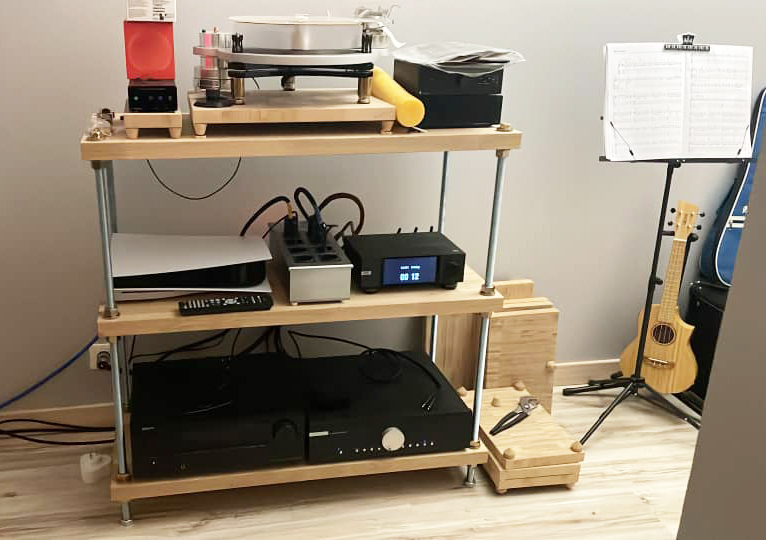
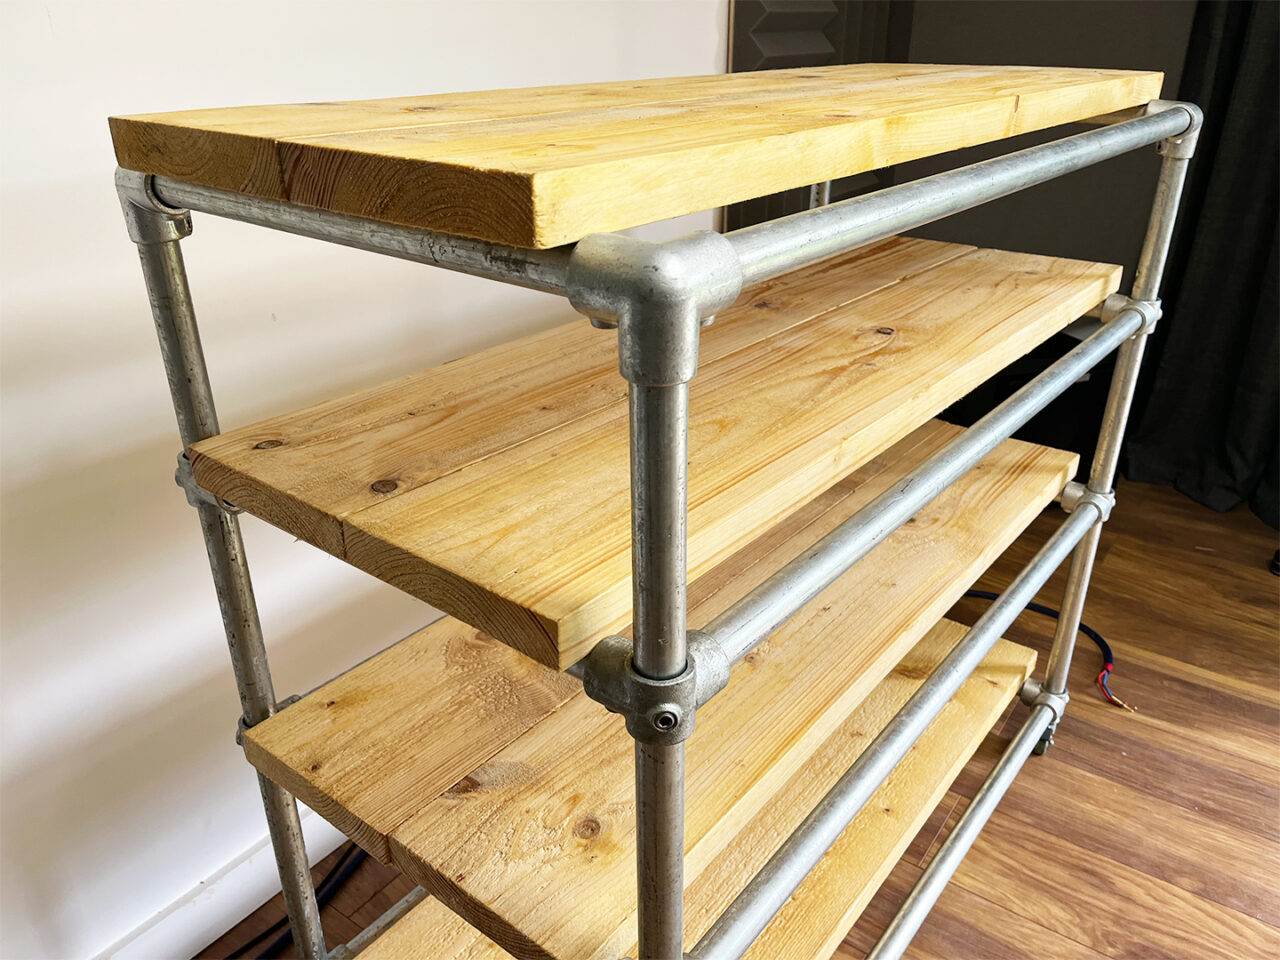
A full hifi house complete with our reference Musical Fidelity M6 pre/power amps, VPI Prime 21 turntable, Primare phono stage and streaming gear
Set up and fully loaded shows the stand to be purposeful and practical without looking cheap or flimsy.
Thanks to its sheer heft and solid constructions, vibration is kept to a minimum too. We allowed for plenty of width and height between components for isolation and generous ventilation.
Simple yet effective, our new stand is now ready for years of hard service
Costs and questions
The total cost was around £400 all in plus delivery and of course labour, with the bulk accounting for the scaffolding poles and brackets.
All in this makes for a great value approach compared to the competition, providing you’re prepared to do the hard work yourself. Sure it’s less polished than many dedicated hifi stands, but that’s also part of its no-nonsense charm.
If you’ve any questions or would like to share pics your homemade hifi equipment supports with us, you can email us at contact@audiograde.uk.
Your hifi stands
Big thanks to Mark Callaby who shared his homemade rack with us over on Facebook, which looks superbly finished.